
If you have already set up Microsoft Entra ID for your users, follow these steps to provision Microsoft Entra ID groups (called Departments in ComplyCloud):
1. Open your Enterprise application
a. Go to your Microsoft Entra account
b. Navigate to “Enterprise applications”
c. Click on your application connected to ComplyCloud
2. Add groups
NOTE: Groups in Microsoft Entra ID are used to create “Departments” in ComplyCloud.
a. Go to “Users and Groups”, click “Add user/group”.
b. Select the groups you would like to add to your Enterprise application and select the “User – YourCompanyName” role for them. It’s important to give the group the lowest role possible, otherwise it will overwrite the users’ roles.
c. Click the “Assign” button.
3. Update provisioning settings
a. Still on the Enterprise application page of created app, go to “Provisioning”.
b. Click ‘Edit provisioning’ and under “Mappings” enable “Provision Microsoft Entra ID Groups”.
You’re done! Provisioned groups should now be visible in ComplyCloud (under Settings > Departments). Please contact us at support@complycloud.com if you experience any issues following this guide.
This guide will walk you through the setup of ComplyCloud’s SSO solution. If you have questions or would like to schedule a support meeting, please do so by emailing us at support@complycloud.com.
To be able to migrate you as an Microsoft Entra ID client, you will need to setup a new Enterprise application in Microsoft Entra ID. The enterprise application will manage two things:
1. Authentication through SAML
A SAML certificate will handle the authentication (i.e who is allowed to access) between your Microsoft Entra users and the ComplyCloud application.
2. Provisioning through SCIM
The provisioning (see reference below) is responsible for synchronizing users, roles and groups between your Microsoft Entra ID and our application. In other words, it will manage the creation, updates and deletion of users and groups and determine what they are authorized to do in our application.
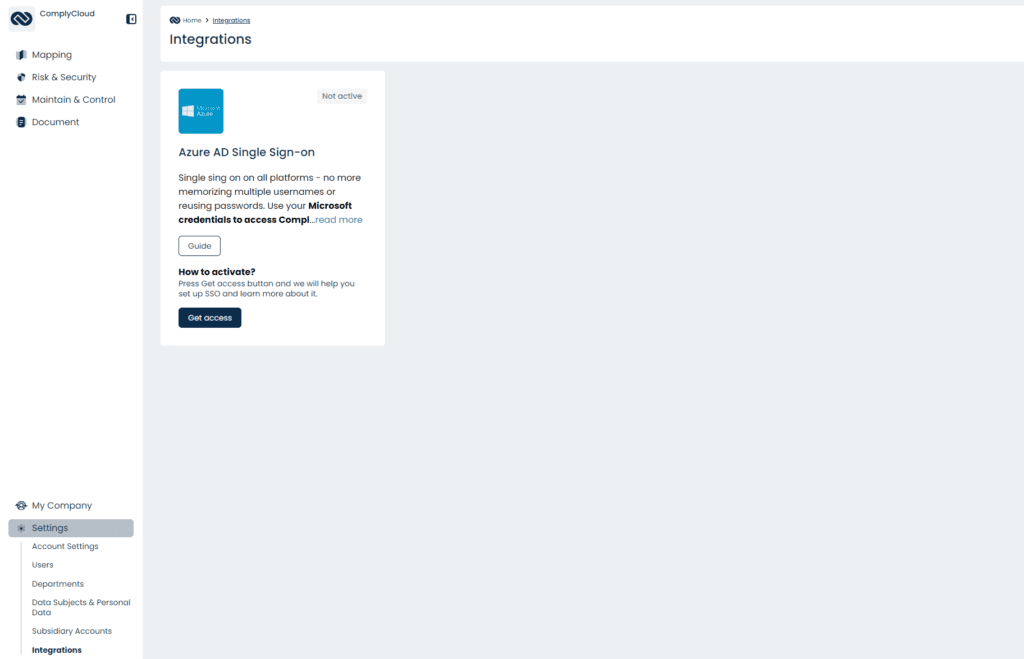
During the setup steps later in the guide you will be asked to provide URLs and secret tokens that are specific to your ComplyCloud account. You can find the needed information in your ComplyCloud account (Settings > Integrations page), as shown in the screenshot below, from here on referred to as the ComplyCloud integration page.
1. Setup the Enterprise application
a. Go to your Microsoft Entra account
b. Navigate to “Enterprise applications”
c. Press “New Application”
d. Click “Create your own application” and in the pop-out on the right, name the application (eg. ComplyCloud SSO) and select “Integrate any other application…”
e. Click “Create”
2. Setup application roles for the enterprise application
a. Navigate to “App registrations”
b. Find the app registration of the enterprise app you created in step 1 and click it.
c. In the left sidepanel, select “App Roles”. At this point, the App roles list should be empty, but if there are app roles here that you want to delete, click the role, untick the “Do you want to enable this role” checkbox and press “Apply”. The Role can now be deleted.
d. In the left sidepanel, click “Manifest”
e. On the integrations page in ComplyCloud, click the “Download App roles” button and insert the downloaded list of roles under “appRoles” in the shown manifest. Only copy from opening square bracket([), to closing square bracket (]).

f. Click the “Save” button.
3. Generate SAML
a. Navigate to “Enterprise applications” and select the app you created in step 1.
b. In the left sidepanel, click “Single sign-on” and select the “SAML” box under “Select a sign-on method”.
c. Click “Edit” under “Basic SAML Configuration”.
d. Click “Add Identifier” add the “Entity id” value found on the ComplyCloud Integration page.
e. Click “Add Reply URL” add the “Redirect URL” value found on the ComplyCloud Integration page.

f. Click “Save”
4. Upload SAML
a. Still on the SAML page, under “SAML Signing Certificate” click “Download” where it says “Federation Metadata XML”.

b. On the ComplyCloud Integration page, click the “Upload SAML” button and upload the file downloaded in step 4a.
5. Add users and assign roles
a. Still on the Enterprise application page of created app, go to “Users and Groups” click “Add user/group”.
b. Select the user you would like to grant access and the role you would like to assign for that user.
c. Click the “Assign” button.
6. Add groups (this step is optional)
NOTE: Groups in Microsoft Entra ID are used to create “Departments” in ComplyCloud.
a. Go to “Users and Groups” again, click “Add user/group”.
b. Select the groups you would like to add to your Enterprise application and select the “User – YourCompanyName” role for it. It’s important to give the group the lowest role possible, otherwise it will overwrite the users’ roles.
c. Click the “Assign” button.
7. Setup provisioning
a. Still on the Enterprise application page of created app, go to “Provisioning”.
b. Click “Get started” and then choose the “Automatic” “Provisioning mode”.
c. Under “Admin Credentials” set the “Tenant URL” to the “Provision URL” found on the ComplyCloud integration page.
d. Under that, set the “Secret Token” to the “Provision Secret” found on the ComplyCloud integration page.

e. Test that the configuration is correct, by clicking the “Test Connection” button.
f. Click the “Provision Microsoft Entra ID Users” and setup the mapping so that it matches the screenshot below:

g. Tick the “Show advanced options” at the bottom of the page and tick the “Required” checkbox of the row called “emails[type eq “work”].value”
h. Add another row at the bottom named “roles” with “Type” set to “String” and tick the “Required” and “Multi-value”.

i. Back on the “Attribute Mapping” page click “Add New Mapping” and set the following values:
a. Mapping Type – Expression
b. Expression – AppRoleAssignmentsComplex([appRoleAssignments])
c. Target attribute – roles

k. Click “Ok” and click “Save” on the “Attribute Mapping” page.
8. Enabling the provisioning
a. Still on the Enterprise application page of created app, go to “Provisioning”.
b. Click the “Start provisioning” button to have Microsoft Entra start provisioning your configured users with roles, as you set up in step 5.
c. If you want to run a more controlled test, click the “Provision on demand” button to force the provisioning of a specific user. Follow the on-screen instructions to check that everything works.

You are done! Provisioned users should now be directed to Microsoft to log in when they attempt to log in to ComplyCloud. Please contact us at support@complycloud.com if you experience any issues following this guide.